2002 Chevy Bose Aux Jack Install
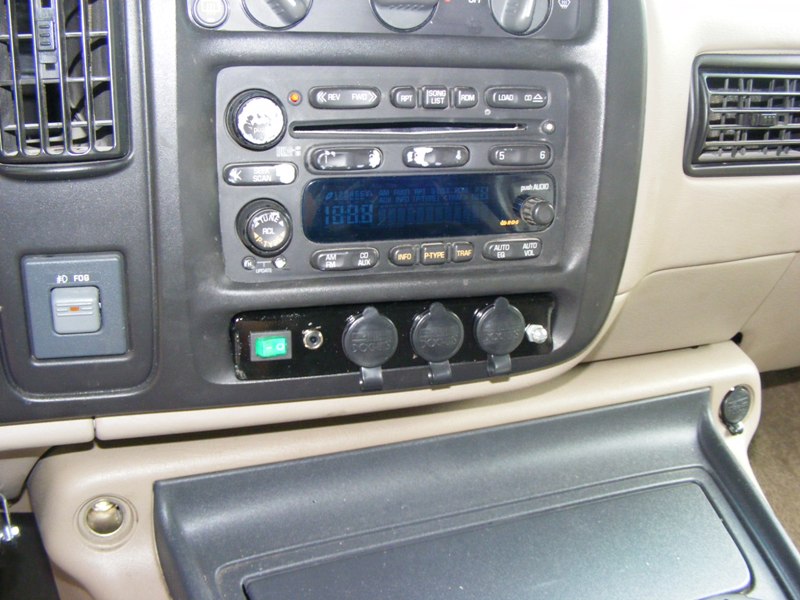
I recently purchased a 2002 Chevy Express 1500 LT Van. This comes with the full boat sound system from the era, including a 6 disc CD changer and a Video Cassette player with a couple of fold down LCD screens and wireless headphones. Very cool, sounds quite nice - but it has one problem: no Aux input for my MP3 player. I figured Crutchfield would take care of me, but once I put "Bose" in the system picker, it said "Tilt" (nothing available).
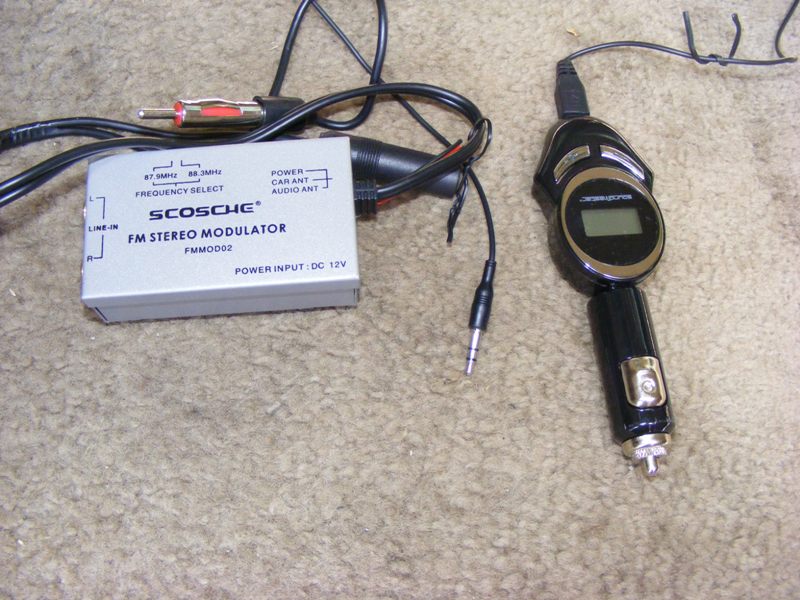
I tried a Scosche FM Modulator - it sounded like CRAP. The one I had laying around that plugs into the cigarette lighter worked slightly better mainly because I could continually search for an unused frequency while traveling cross country.
I found several things on the internet.
Owners manual PDF: download here
That was no help - didn't really document the sound system at all.
I found wiring diagrams for the sound system, showing why Crutchfield doesn't offer replacement head units. It's 4 separate pages, each in its own PDF file:
Download here, here, here, and here. The first of these 4 shows the connections coming out of the back of the radio going to the Amps. These are the ones we'll use.
I found an intriguing post on the internet where someone says you can tap into the wiring harness and send an alternate signal to the amplifiers. Here's the post:
http://forums.ilounge.com/car-solutions/62485-2002-trailblazer-gmc-envoy-owners.html
2002 Trailblazer / GMC Envoy Owners
--------------------------------------------------------------------------------
Just a note to those who have the Class II RDS w/Bose and 6-disc in-dash radios (model #15058231): Apparently, no one make an AUX-IN kit that works correctly with this particular unit. I talked to an engineer at PAC-AUDIO and at USA-SPEC, they both said the radio has the aux disabled because it uses it for the built in 6-disc.
But there is a work around: The head unit sends its audio to the amps at a constant level, and the amp's volume is digitally controller via the Databus. So you can do this: Wire up a relay switch to toggle between your own input and the radio's output.
24-pin connector:
A9 - Left (-) dk green
A8 - Left (+) tan
B10 - Right (-) org / blk
B11 - Right (+) lt green
You MUST use a ground loop isolator and 2 DPDT relays so that you are completely disconnecting all 4 wires from the head unit and connecting them to your own input.
Radio Left (-) ----------/------- Amp Left (-)
Radio Left (+) ----------|/------ Amp Left (+)
Radio Right (-) ---------||/----- Amp Right (-)
Radio Right (+) ---------|||/---- Amp Right (+)
In L (-) --------|************| --- To Amp L (-)
In L (+) --------|GND Isolator| --- To Amp L (+)
In R (-) --------|************| --- To Amp R (-)
In R (+) --------|************| --- To Amp R (+)
I tried it out and it works great! It's a little tight to splice the factory harness, but it does the trick.
-hj
This was the basis for my conversion. The instructions above only handle the front two channels, however. I doubled up on relays and ground isolators and used RCA splitters to send the signal from the MP3 player to both the front and rear channels. I also found that the output of the MP3 player wasn't high enough to get the volume I wanted, so I used a "Boostaroo" headphone amplifier from Radio Shack to boost the signal. This one is battery operated. I also bought a 12v powered unit from Boostaroo directly, but the cigarette light induced too much background noise so I'm back to the battery operated one. The 2 AA batteries last a surprisingly long time.
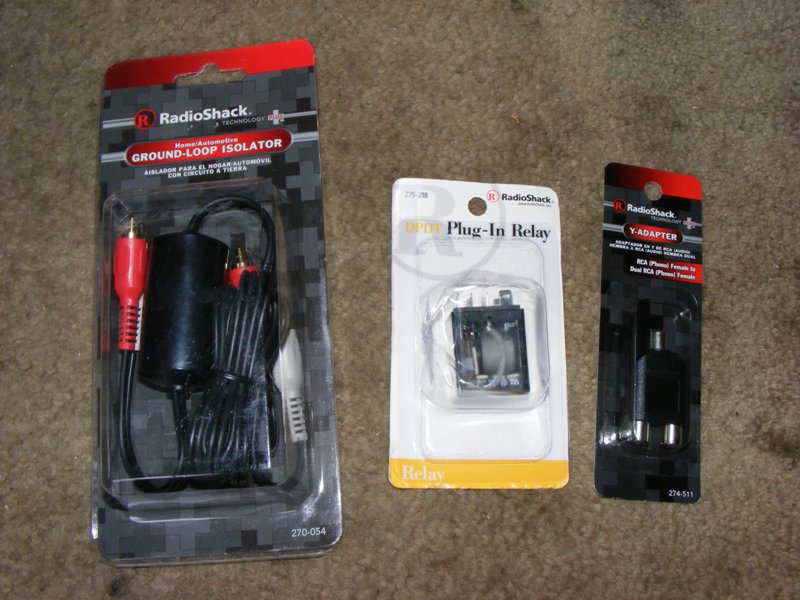
I had previously installed an on/off switch and headphone jack to RCA splitter / adapter that came with the Scosche FM adapter. Additional items I purchased to make this conversion:
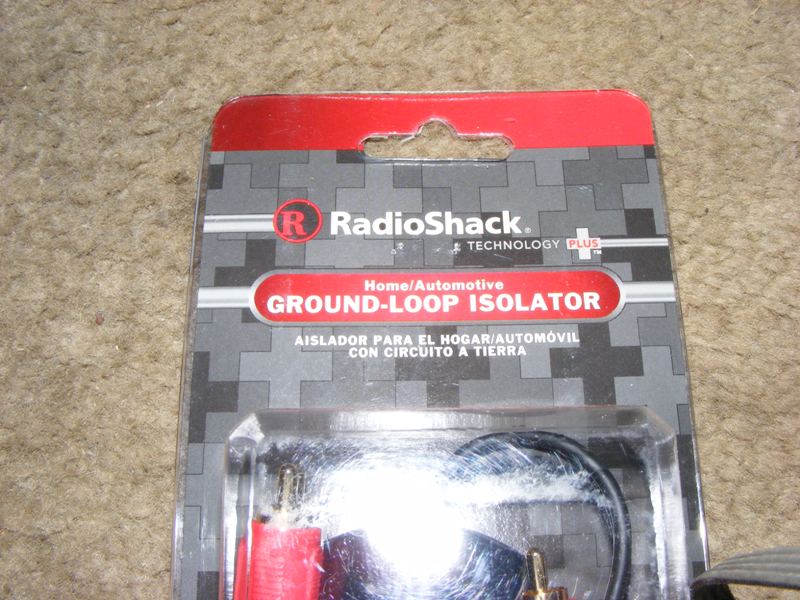
Radio Shack 270-054 ground loop isolator - Qty 2 (came with RCA to headphone adapters which I used to connect the RCA jacks to the relays)
Radio Shack 275-218 DPDT relay - Qty 4
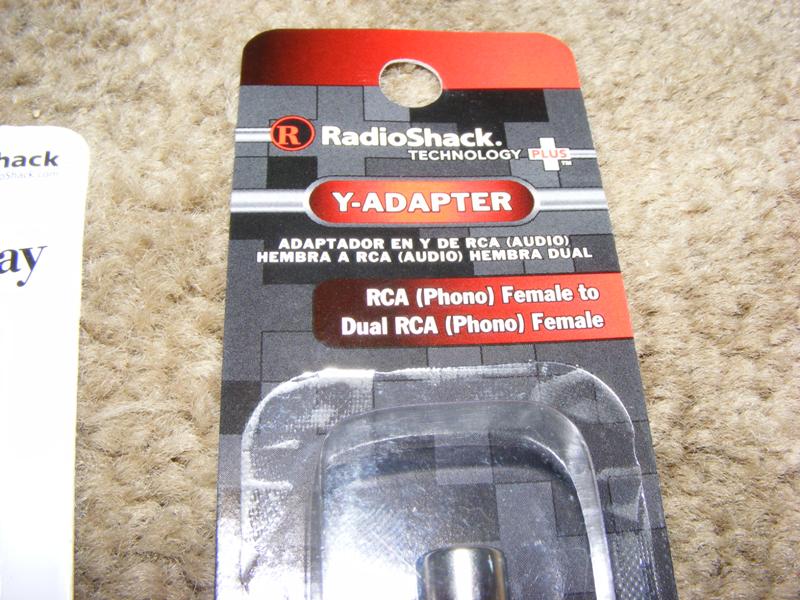
Radio Shack 274-511 RCA splitter / Y adapter - Qty 2
Heat Shrink tubing
"Small" (0.164"?) Female spade connectors - worked great on the relay's terminals
Radio Shack 33-118 Boostaroo Headphone Amplifier
Here's the basic wiring:
Connections we're going to splice into:
LF LO Aud Sig + A8 Tan/Blk
LF LO Aud Sig - A9 Dk Grn
RR LO Aud Sig - A10 Tan
RR LO Aud Sig + A11 Dk Blu
LR LO Aud Sig + B8 Brn
LR LO Aud Sig - B9 Brn/Wht
RF LO Aud Sig - B10 Lt Grn/Blk
RF LO Aud Sig + B11 Lt Grn
Each one of these connections gets turned into this:
Radio ---------------------------------------- Relay (normally closed)
MP3 headphone ----- Ground Loop Isolator ----- Relay (normally opened)
Amp ------------------------------------------ Relay (common)
Power (on/off switch in positive lead) ------- Relay
The MP3 connection is simplified above. Here's the full series of connectors:
MP3 headphone --- RCA Adaptor --- Ground Loop Isolator --- RCA Adaptor --- Relay
Each relay can handle both a (+) and a (-) connection.
The power connections from the switch and the ground can be connected to the relays in series (jumpered)
With the Radio Shack 275-218 DPDT relay, the amp connection is closest to the power connections,
the MP3 player connections are next, and the radio connections are furthest from the power connectors.
Here's a pictorial view of this installation:
Note: click on the pictures for a larger view
Parts

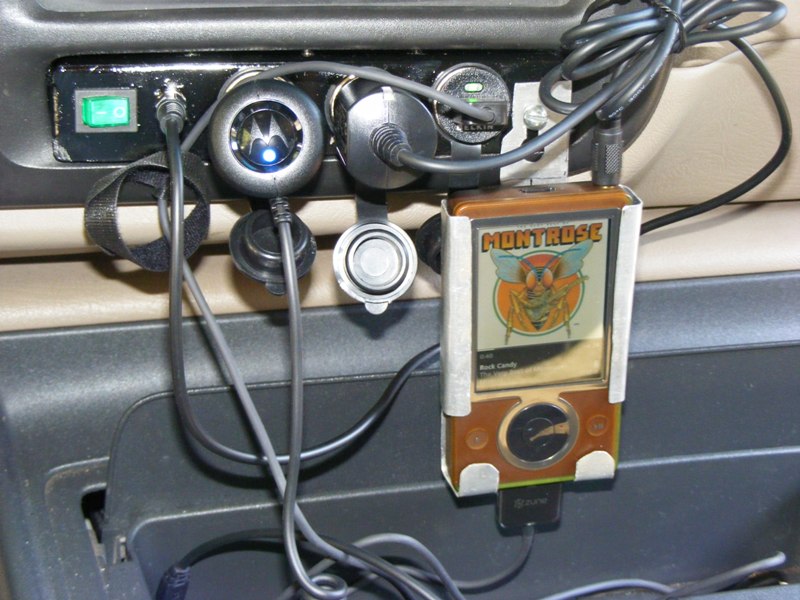
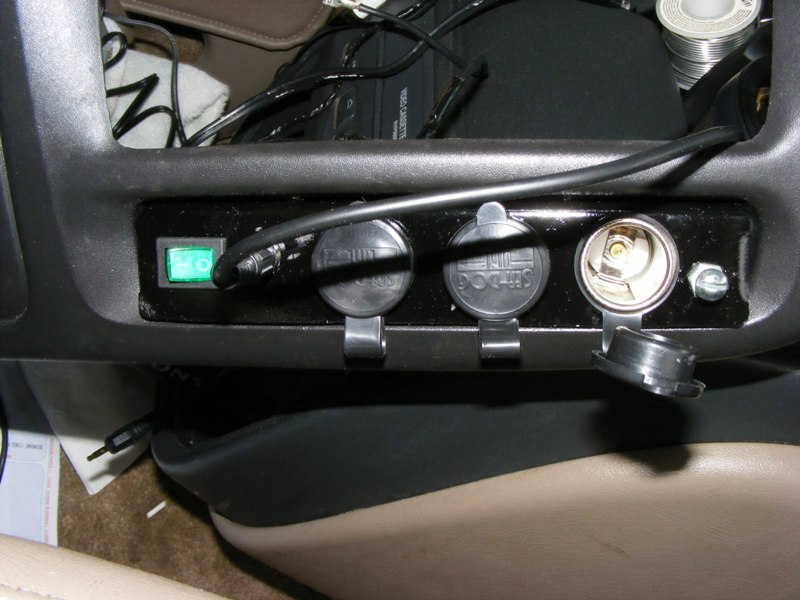
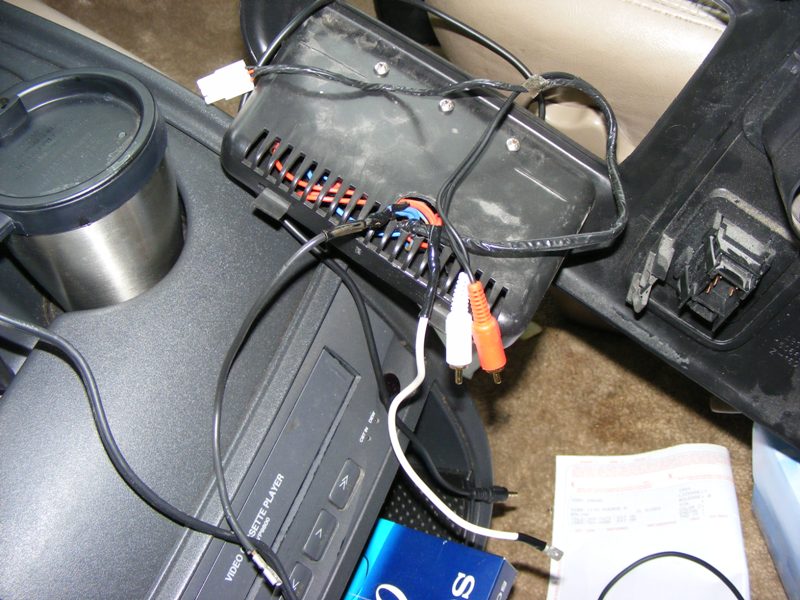
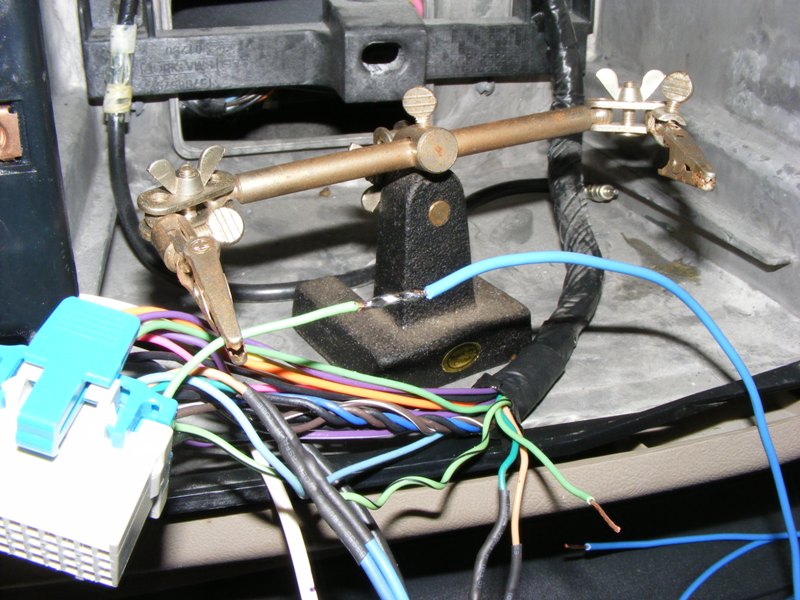
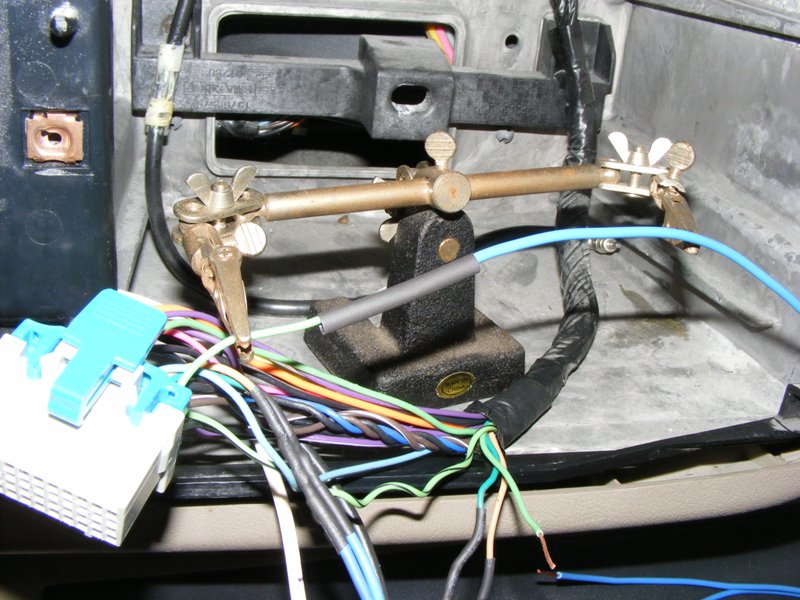
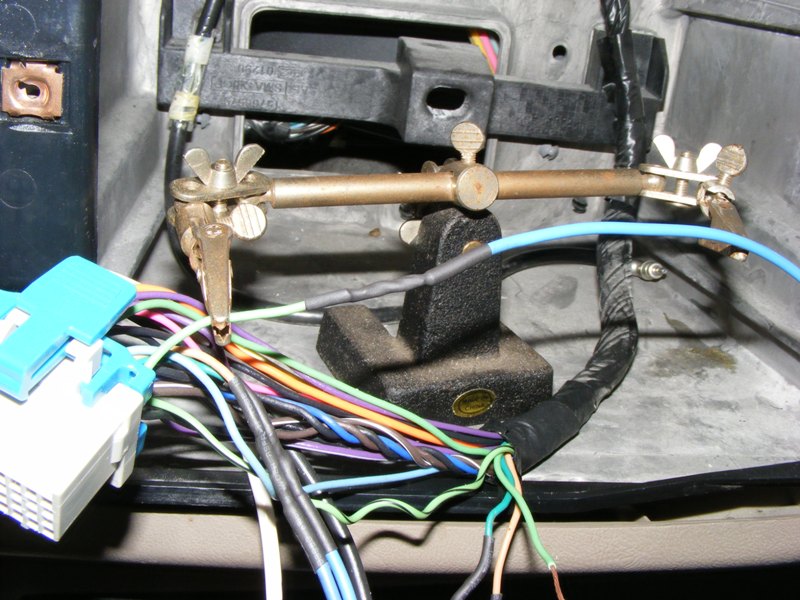
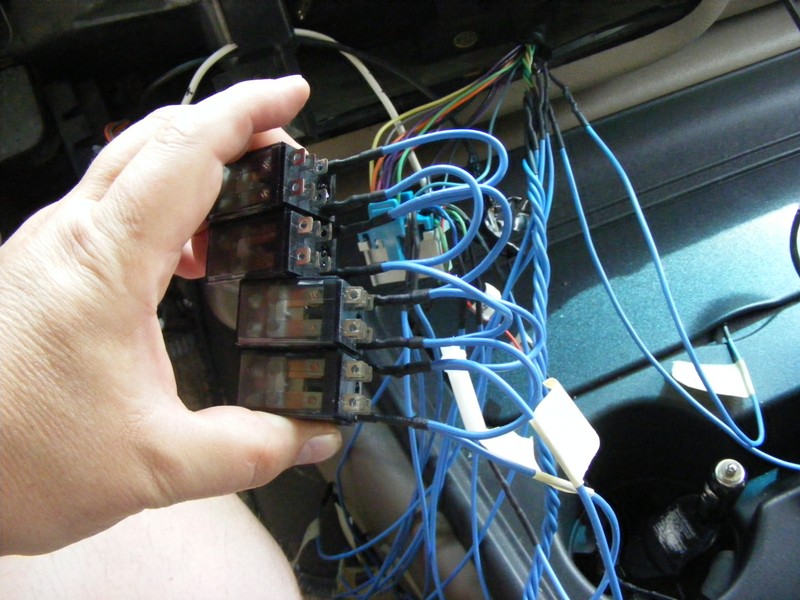
Pre-existing connections from prior installation - front / back
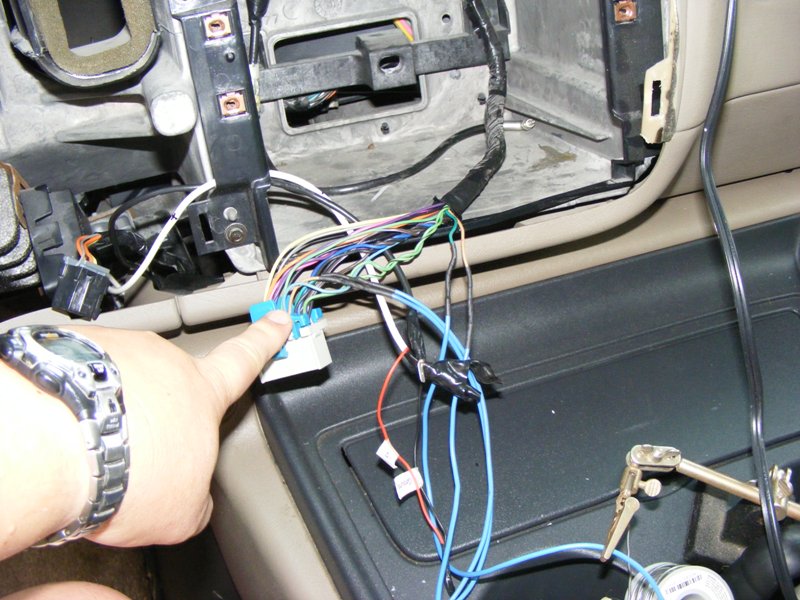
Radio removal


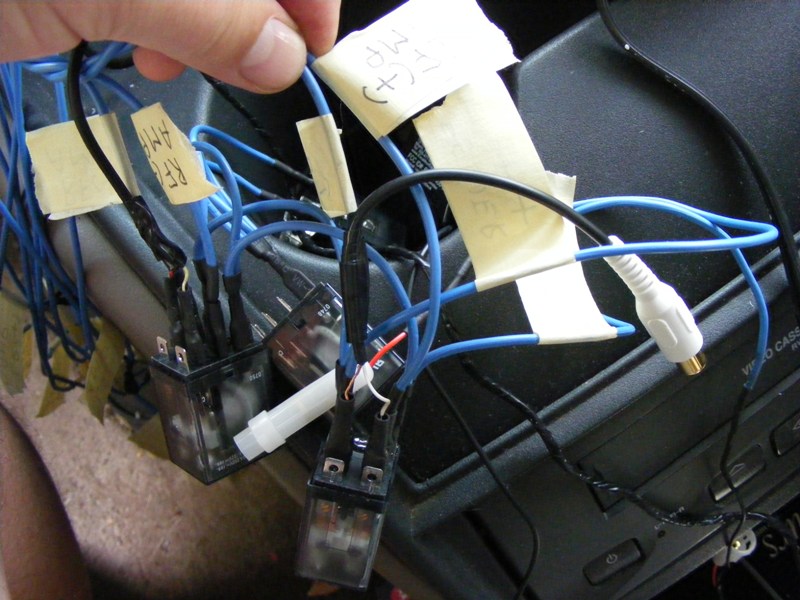
Splicing into wiring harness - note that each channel's wires are twisted around each other to reduce noise - there are 2 twisted bundles of 4 wires each. This helps finding the right wires.

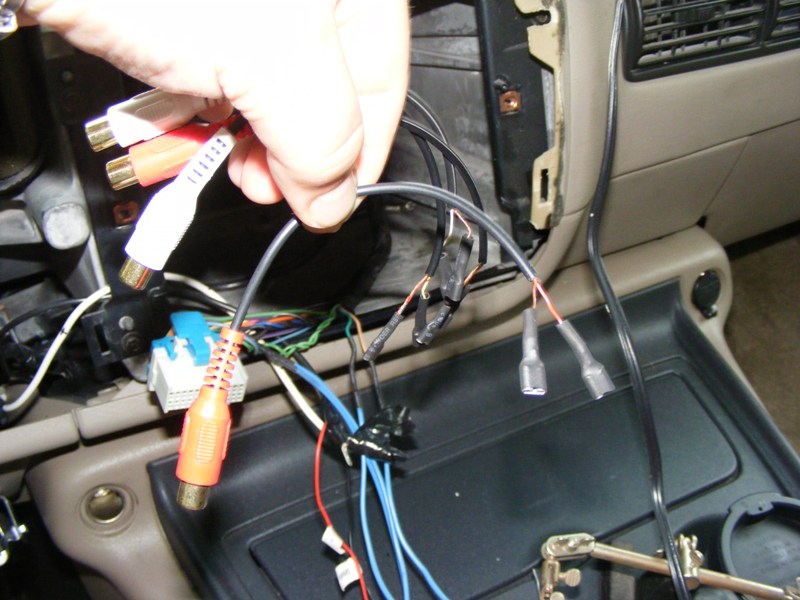
The RCA connectors with the spade connectors soldered to them - be careful as there are TWO small wires in addition to the outer shield. One of the small wires is connected to the outer shield / ground and the other is connected to the positive inner terminal. I soldered both wires into a couple of my connectors the first time around and only had 2 of the 4 channels working until I re-did them.
Here's how to do the splice - first wrap both wires around each other for strength, then solder together, then cover with heat shrink tubing


Twist the wires together to gain the noise reduction of "twisted pair" like the stock wiring harness
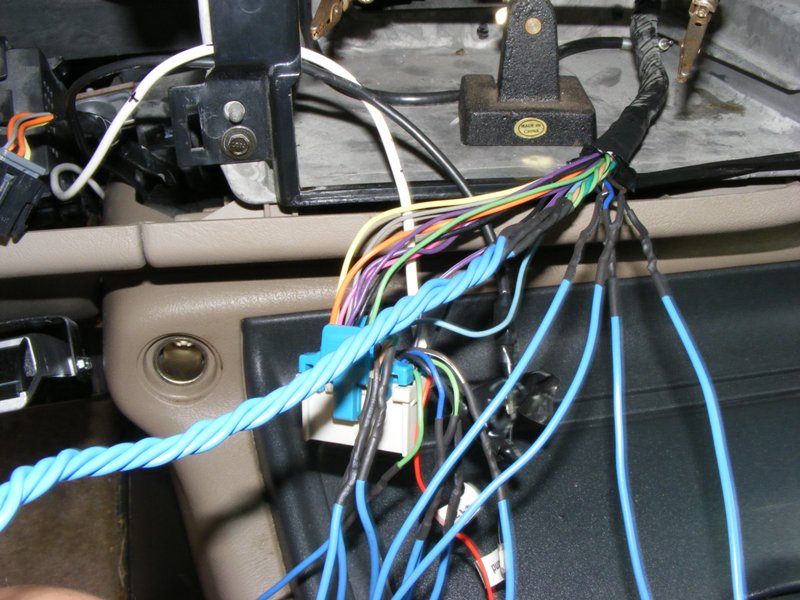

Notice that all of the wires are labeled.
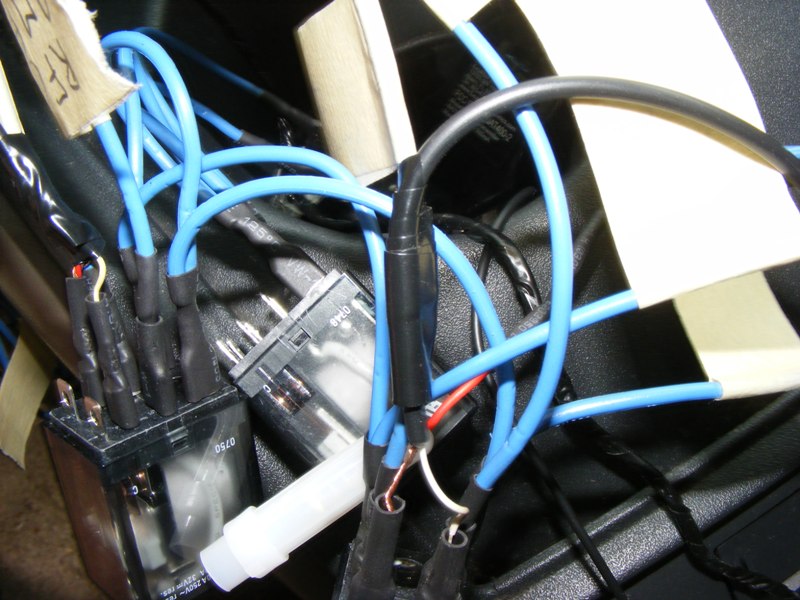
Here's the power connections on all 4 relays (jumper the + terminals together, jumper the - terminals together)
Here I have the amp connections as well as the RCA jack (MP3 player) connectors attached. Note the electrical tape strain relief - I taped the RCA jacks to to the amplifier wires so the thin little wires aren't pulled off of the connectors.
Here's the full set of connections on the relay.
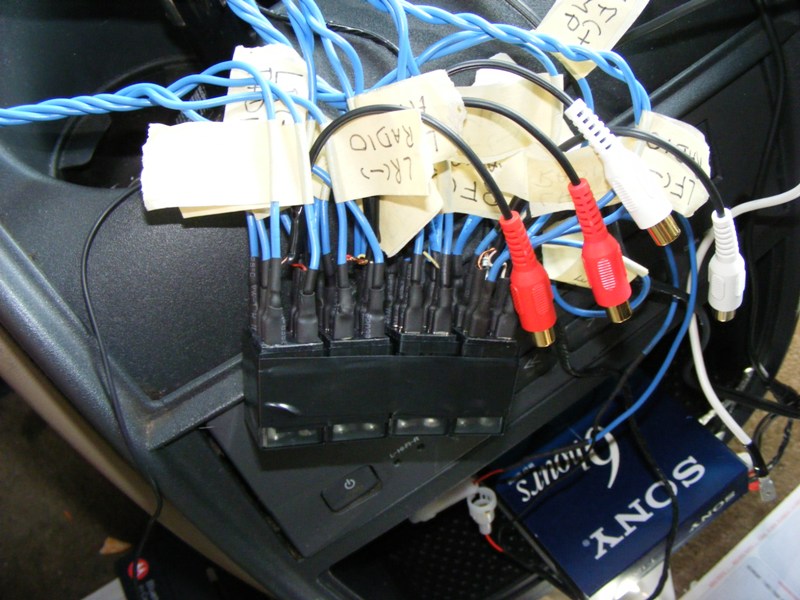
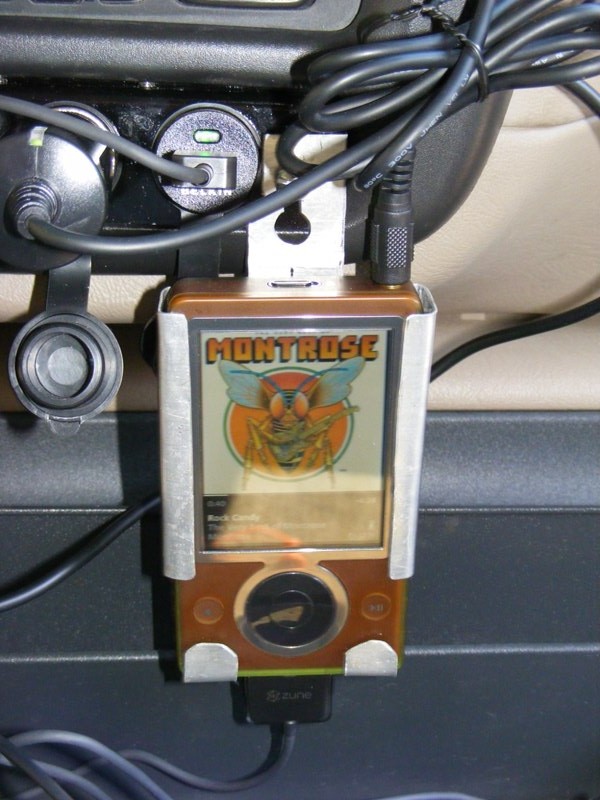
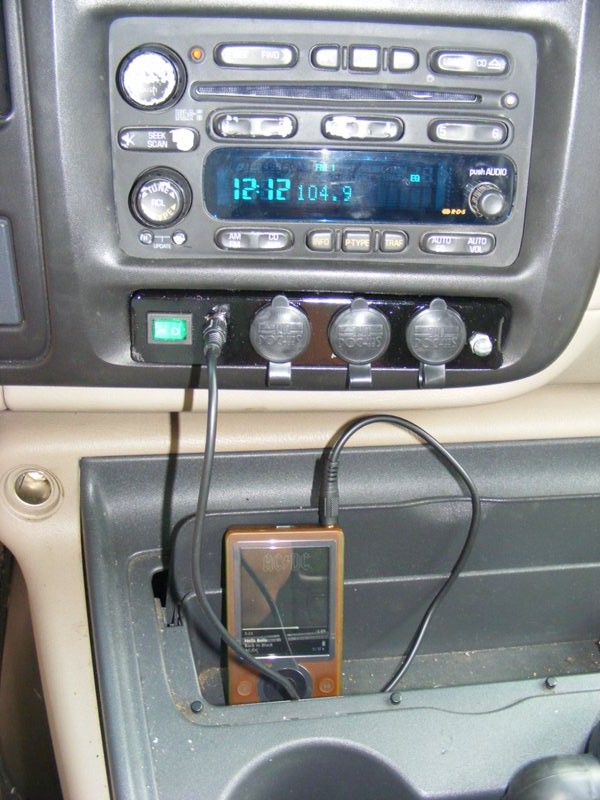
What I don't show is the RCA jacks from the dashboard headphone jack connected to a Y adaptor and then to the Ground Loop Isolators. The relay's RCA jacks connect to the other side of the Ground Loop Isolators. I re-installed the radio and stuffed the 4 relays and the two ground loop isolators in the space under the radio. Pretty much a net fit, but here's the end result (yes, that is a brown 30 GB Zune - so geeky I HAD to have that one)